Beginning with my video released on March 4 2022, I’m now using the HitFilm Free (formerly Hitfilm Express) video editor for my YouTube videos after switching from Shotcut. HitFilm Free is the free version of HitFilm and has all the features I need for creating the type of videos that I make. I use it for lyrics videos, slideshow style videos and cutout-animation style videos although it’s capable of far more than just that.
HitFilm and HitFilm Free are under active development and have a helpful forum.
A short video by Tabletop Composer demonstrating how to easily create 3 types of ostinato patterns:
rhythmic – a repeated tone is used that optionally changes with each chord change
harmonic – rhythmic ostinato + tones from the current chord are used
melodic – harmonic ostinato + mostly tones from the current chord are used but short passing notes that are not part of the chord are used.
The technique demonstrated in the video below is as follows:
Rhythmic Ostinato
Create the rhythm by starting with the first bar and just a repeated single tone. Decide which beats of the melody you want to emphasize and which ones you want to contrast.
Copy the ostinato from the first bar to all other bars then decide for each chord, what tone will be repeated.
Harmonic Ostinato
Starting with the previous rhythmic ostinato, change some of the ostinato notes to use tones from the current chord.
Melodic Ostinato
Starting with the harmonic ostinato, change some of the ostinato notes into passing tones between tones of the current chord.
In the video below Ryan Leach demonstrates a quick and easy method to compose a counter melody.
Starting with a main melody, chord progression and bass line, to compose your counter melody do the following:
1. Find missing chord tones.
Examine the melody and bass line to find any missing chord tones from each chord. If the current chord is a C (C E G), and the melody is playing a G (and then perhaps other non chord tones), and the bass is playing a C, the missing note is E. Use E as your counter melody note. Use a whole note or other long note for now. If the melody is playing multiple chord tones (perhaps both E and G) choose a chord tone to double. From the rules of harmony, it seems that the root (C) of the chord or the fifth (G) are the ones recommended to be doubled.
When adding a missing chord tone (or doubling a chord tone), another thing to consider is which of the chord tones is closest to the previous harmony note. For example, if you’ve chosen a G harmony note to accompany a C from the previous bar, and you now need to fill in harmony for an F chord and there are two missing notes from that chord in the current bar, say for example the C and the A are missing from the F chord, a good choice would be to use A as the harmony note since it is closest to the previous G harmony note from the previous bar.
2. Add rhythm
Having worked out what starting notes to play for the counter melody, now consider the rhythm. The idea is to have the counter melody resting or holding a note while the main melody is busy, and have the counter melody busy while the main melody is holding a note or resting. Using a missing chord tone for the counter melody in step 1, was a starting point. To add rhythm to the counter melody, other notes from the key can be used to move form one chord tone to the next.
The above two steps (and adding a second harmony part by repeating those two steps) are demonstrated in greater detail in the following video:
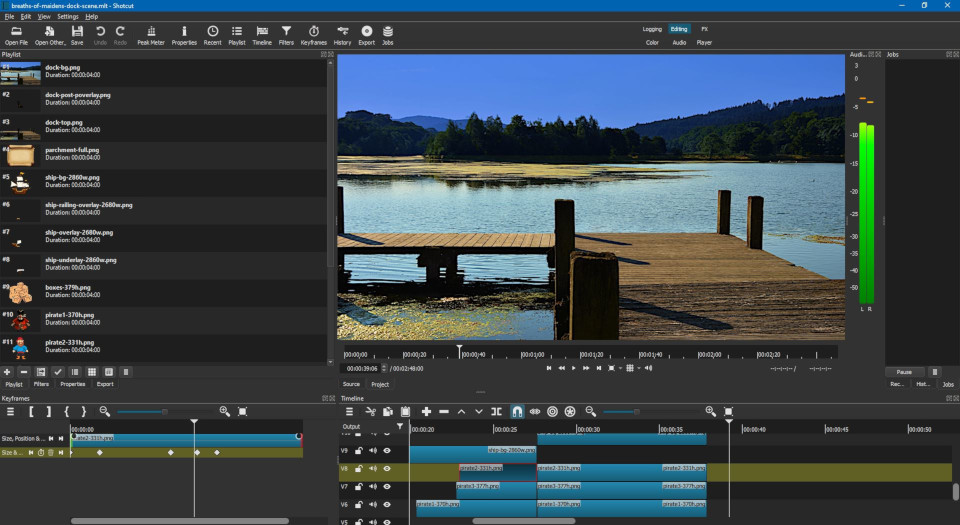
Update March 4, 2022: Starting with a video released on March 4, 2022, I’ve switched to HitFilm Express. Shotcut is still a good video editor and it served me well, but HitFilm Express has a few extra features that I find too useful that were missing from Shotcut at the time I wrote this update.
To reach a wider audience, I upload my music to YouTube. To do that, I need to make a video to accompany my music. After using various other tools in the past and having done a lot of research and watching reviews and tutorials, about a year ago (2020) I started using Shotcut and have been doing so ever since. It’s free, has a helpful forum, plenty of YouTube tutorials and is under active development to keep improving it.
I’ve found it easy to use for slide show style videos, merging video clips and for an unintended application: cartoon-cutout-style animation. Any video I’ve made since July 2020 has been made with Shotcut.
Available from Xfer Records (and a variety of other places) the free, OTT (Over The Top) plugin is a multiband compressor. Practically, for me, this means it cleans up any mix on which I use it. If you want to hear how much mid frequencies are muddying up your mix, just drop this plugin onto the master mix, then toggle it on and off.
There is much more to this plugin than that and for the best results, this should be adjusted for each individual mix. In my opinion, for the best results, apply instances to different groups of tracks and not on the master track at all. For example, I might use an instance for the drums, a separate instance for vocals, another for all other instruments (as a group) because each of those tracks or groups of tracks will sound best with a different configuration of OTT.
I’ve listed the steps that are shown in the video, as a reference for use after watching the video. The video that follows, does a very good job of explaining how to use OTT and making it easy to understand how to get good results for your mix.
Adjust the high, mid and low frequency bands. In other words drag the black bars in the middle of the brown and green areas in the middle of the OTT plugin, to the left or right to get the desired boost or cut from each frequency band.
Adjust the upward and downward compression dials at the bottom of the plugin.
Adjust the time dial at the top of the plugin.
Finally adjust the depth dial at the top of the plugin.
A few other things to consider when using this plugin.
Don’t be fooled by a volume increase. Ensure that the volume of your mix is the same with or without the plugin enabled. Louder can sound better even if a plugin isn’t doing anything other than increasing the volume. You want to ensure the tone is better, not just that everything is louder so be sure to adjust the output gain when comparing the mix with and without the plugin enabled.
When you first enable the plugin, your mix might sound worse, but literally after a few seconds spent on step 1 above, you’ll hear an instant improvement.
The following video explains and demonstrates the above steps.
Pitchproof is a free audio plug-in that can shift the pitch of the input. The effect is meant to combine old styles of pitch shifting with the quality you expect from modern plug-ins. The result is this pitch “pedal” simulation that has most of what is great about guitar harmonizer pedals, and still preserves the signal’s integrity.
I use it as a vocal harmonizer. With a few added tricks, the effect is sufficiently convincing in a mix. In isolation it can sound like chipmunks but use the tricks below and blend it appropriately with the lead vocal and you have instant harmony. As outlined in the video below, do the following to improve the quality of the harmony.
Create a new harmony track in your DAW
Create a send from the main vocal track to the harmony track
To the harmony track, add the following plugins:
Pitchproof (set to 100% wet, 3rd harmony, key of your song)
a pitch shifter, (to shift the formants by about -54 cents – helps reduce the chipmunk effect)
an autotuner, (set to autmomatic pitch correction in the key of your song)
an EQ. (use high and low pass filters to include only the bulk of the harmony wave form)
reverb (to place the harmony track behind the lead vocal)
Pan the harmony track to put the singer to the side of the lead vocal.
Adjust the volume of the harmony track to blend with the lead vocals
The following video by MusicTechHelpGuy demonstrates the above tips.
PolyPhone – This tool’s intent is to provide a Graphical User Interface for creating .sf2 based sample libraries but I use it for it’s sample looping abilities when I’m creating .sfz based sample libraries.
To use this for looping, first create a new instrument (though there will be no need to save that instrument anywhere), using File > New. I just create an instrument called “temp” or “test”. It doesn’t matter because I won’t save the instrument.
Next, drag and drop a .wav file over the “Samples” label on the left side. Having done that, a blue waveform as depicted above should appear.
The simplest thing to do next is to let Polyphone scan the entire waveform to find a good loop point. Pressing the yellow loop icon near the top will begin the quick process.
This often works but it’s sometimes best to restrict the search to an area of the wave form that you can see is mostly stable. I have done that in the picture above. To first set the end point of the search area, simply click the right mouse button somewhere in the wave form. Then click the left mouse button to set the start point.
As before, click the yellow loop icon to create a loop.
Press space bar to toggle the playing of the looped sample.
To try a different loop range, press Ctrl-z to undo the previous loop thus allowing you to set new loop begin and end points.
Once the loop is sounding good, select File > Export Samples to choose the directory where the looped sample is to be placed.
To continue, I drag another waveform over the “Sample” label and delete the previous sample from that list (just click the previous sample to highlight it and then press the delete key.
Below is a short video with some tips on how to take a motif
“Motif: a short succession of notes producing a single impression; a brief melodic or rhythmic formula out of which longer passages are developed”
… and make a few simple changes to expand it into a verse or chorus. The idea expressed in this video is to come up with a small melody idea and be able to repeat it 3 times but each time changing it just enough to keep it interesting. This strikes a good balance between something familiar for your listener while at the same time, providing something new with minimal effort.
There are many methods for altering a motif that I won’t list here, but this video shows 2 examples that should be easy to re-use in your own composing efforts.
Method 1
play the motif
repeat the motif but add a different ending to it
repeat the original motif with the original ending
play the motif a 4th time with another new ending.
Method 2
play the motif
repeat the motif unchanged
play a shortened version of the motif twice (in the time allotted for the first version of the motif)
I’ve seen the transcribing of other people’s music recommended many times as a way to learn the art of orchestration and composition. The idea is to get a recording of a classical piece of music, attempt to recreate it by listening to it, performing the parts you hear into your DAW and then checking the actual conductor’s score to correct any mistakes. Doing this for a while will help to recognize patterns and be able to re-use those patterns to compose our own music.
There are places that sell conductor’s scores but I’ve found another interesting (free) way. Some live composing videos on YouTube are detailed enough that you can see exactly what is being recorded, by seeing the composer’s hands on a piano as they record a track, or seeing the piano roll in enough detail to figure out exactly what notes were recorded.
I would recommend performing a YouTube search for “live composing”. This will lead you to videos of composers as they work on a new piece of music. You can see step by step exactly how they do it.
Here are some of those videos (if you’re interested in epic/trailer style music):
In the video description of the following video, you will find a link where you can actually download the audio of individual tracks and the MIDI as well. If you become a patreon (paid subscriber) of Alex Moukala, you will be able to download the audio tracks and MIDI of many of his compositions for studying purposes.
In the following video, by carefully watching his hands, you should be able to figure out exactly what is being played so you can create your own version for studying.